
Discover how professional portrait photographers are revolutionizing shadow enhancement using AI tools while maintaining natural-looking results. This comprehensive guide reveals a proven 4-step workflow that balances technical precision with artistic integrity, transforming challenging lighting situations into beautifully balanced portraits that preserve the authentic character of your subjects.
Understanding the Science of Shadows in Portrait Photography
To master the art of shadow enhancement, one must first understand that shadows are not merely the absence of light, but active sculptors of form and emotion. In portrait photography, shadows are the primary tool for creating the illusion of three-dimensionality on a two-dimensional medium. Without them, faces appear flat and lifeless. The interplay of light and shadow, known as chiaroscuro, defines the contours of the face, giving volume to the cheekbones, depth to the eye sockets, and shape to the jawline.
Shadows are categorized by their origin and function. Form shadows occur on the side of the subject turned away from the light, softly modeling the face’s curvature. Core shadows are the darkest part of these form shadows, crucial for defining the edge where light terminates. Cast shadows are projected by one feature onto another, like the nose casting a shadow across the cheek. Each type plays a distinct role:
- Form Shadows: Create volume and suggest the underlying bone structure.
- Core Shadows: Provide critical separation, defining the transition from light to dark.
- Cast Shadows: Add drama, directionality, and can emphasize or minimize specific features.
Classic lighting patterns are essentially formulas for shadow placement. Rembrandt lighting creates a distinctive triangular highlight on the shadowed cheek, using deep shadows to add mystery and depth. Butterfly lighting casts a small, symmetrical shadow under the nose, emphasizing cheekbones with subtle, defining shadows under them. Even the foundational three-point lighting system uses a fill light specifically to control the density of shadows created by the key light, not eliminate them. The goal is never to erase shadows, but to understand their language—their density, their edge transition, and their shape—to craft portraits with authentic depth and emotional resonance.
The AI Revolution in Portrait Enhancement
Having established the science behind shadows—their role in dimension and emotion—we now witness a seismic shift in how photographers sculpt this crucial element. The journey from the darkroom’s meticulous dodging and burning to the digital darkroom’s complex layers has now accelerated into the era of artificial intelligence. This isn’t about replacing artistry; it’s about evolving the toolkit. Modern AI-powered shadow enhancement represents a fundamental change in post-processing philosophy, moving from manual, pixel-level correction to context-aware intelligent assistance.
At its core, these tools utilize sophisticated machine learning algorithms trained on millions of professional portraits. They don’t just brighten dark areas uniformly. Instead, they analyze the image to distinguish between a defining jawline shadow, a deep under-eye cast, and the gentle contour of a cheekbone. The AI understands lighting patterns, recognizing a Rembrandt triangle or the soft wrap of window light, and makes adjustments that respect the original lighting intent. This allows for corrections that would be incredibly time-consuming manually, such as selectively lifting shadows on a face while preserving the deep, moody shadows in the background.
The advantages of this approach are transformative:
- Unmatched Consistency: AI can apply the same nuanced logic across hundreds of images from a session, maintaining a uniform look.
- Profound Speed: Complex shadow recovery that might take 15 minutes per image manually can be achieved in seconds, establishing a perfect baseline for further refinement.
- Handling Complexity: It excels in challenging, mixed-light scenarios where shadows have varying color temperatures and densities, isolating and correcting them intelligently.
A common misconception is that AI creates a homogenized, “overcooked” look. However, the best modern tools are designed to be parametric and non-destructive. They provide the photographer with sliders for intensity, range, and preservation of contrast, ensuring the artist remains in complete control. The AI handles the technical heavy lifting of where and how to adjust, freeing the photographer to focus on the creative why. This sets the stage for the next critical phase: capturing the right raw data for the AI to work its magic.
Step 1: Strategic Capture and Raw Preparation
While AI tools are powerful, they cannot create information that was never captured. The first and most critical step in achieving a natural shadow lift is to strategically capture and prepare your raw files. This foundation determines the ceiling of your AI enhancement’s quality. The goal is to preserve maximum shadow detail without compromising highlights, creating a data-rich file for the AI to interpret.
Your exposure strategy is paramount. For most portrait scenarios, employ Exposure to the Right (ETTR), slightly overexposing while ensuring critical highlights are not clipped. This pushes more shadow information into the midtones where your sensor captures it with less noise. Use your camera’s histogram and highlight alert to guard against blowouts. In challenging light, such as backlit outdoor scenes or high-contrast window light, this technique is essential for retaining detail in the subject’s shadow side.
- Lighting Setup: In studio, use fill light or reflectors to soften shadow edges and reduce contrast ratio, giving the AI more nuanced data to work with.
- Camera Settings: Shoot in RAW format exclusively. Its wider dynamic range and unprocessed data are non-negotiable for serious shadow recovery. Use the lowest practical ISO to minimize noise, which AI can exacerbate when lifting shadows.
- File Preparation: Organize and cull your selects before processing. Apply only global foundational corrections in your raw converter—lens profiles, slight exposure tweaks, and basic white balance. Avoid heavy shadow sliders here; you are simply delivering a clean, balanced file to the AI software.
By mastering this step, you provide the AI with a robust canvas, ensuring its enhancements build upon reality rather than attempting to reconstruct it from missing data.
Step 2: Intelligent Shadow Analysis and Selection
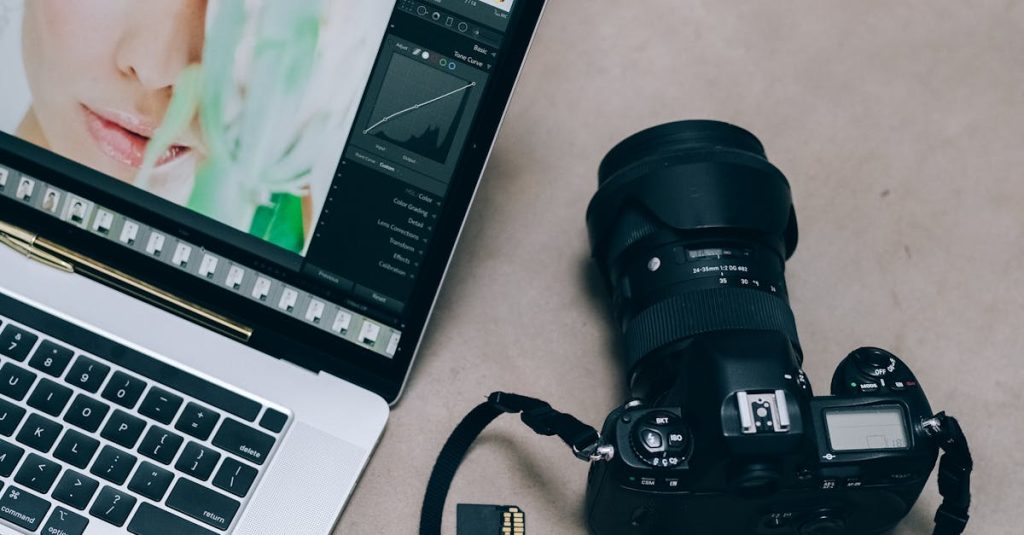
With your properly exposed RAW file loaded, the true power of the modern editing suite begins. This step moves beyond the crude global Shadow slider, which brightens all dark areas uniformly and often flattens the image. Instead, we employ intelligent AI analysis to make surgical selections. Sophisticated software like Adobe Lightroom, Photoshop, or Skylum Luminar uses facial recognition and machine learning to map the portrait. It doesn’t just see “dark pixels”; it identifies specific facial zones—the under-eye area, the sides of the nose, the jawline, and the neck—understanding that each requires a different touch.
The core of this step is the targeted local adjustment. You’ll use tools like AI-powered masks or selection brushes that automatically detect edges and tones. For instance, clicking an “Enhance Face” or “Select Subject” option creates a mask isolating the person. From there, you can refine it further to select only the shadow regions within that mask. The key is to let the AI do the heavy lifting of initial detection, then manually refine the selection edges to ensure natural transitions.
- Best Practice: Always start with the most specific AI selection tool available (e.g., “Select Subject” then “Select Sky” to subtract it) before using a brush to add or subtract areas.
- Best Practice: Use a soft feather on your selection edges—anywhere from 20 to 50 pixels depending on resolution—to avoid harsh, visible lines between adjusted and unadjusted areas.
- Best Practice: Analyze the face in zones. Create separate, subtle masks for under-eyes (often needing brightness and color correction) and for broader contour shadows (needing gentle lift), rather than one aggressive mask for everything.
This precise selection creates a protected foundation. You are now ready to apply enhancement algorithms only where needed, preserving the natural shadow hierarchy that gives the face dimension and authenticity, which we will execute in the next step.
Step 3: Precision Enhancement with AI Algorithms
With your shadow areas intelligently selected from Step 2, you now move to the core enhancement phase. This is where the true power of AI is harnessed, not as a one-click fix, but as a sophisticated brush in your toolkit. The primary goal is to lift shadow luminance while meticulously preserving the underlying detail, texture, and—most critically—the natural hierarchy of light. A common pitfall is applying a global brightness increase, which flattens the image and destroys the three-dimensional form of the face.
Modern AI algorithms, often based on trained neural networks, work by analyzing the selected shadow regions in context. They don’t just brighten pixels; they attempt to reconstruct plausible detail by referencing patterns learned from vast datasets of professionally lit portraits. Your control lies in guiding this process through key parameters:
- Shadow Brightness/Blacks: Increase this gradually to reveal detail. The AI should protect the deepest, defining shadows to maintain structure.
- Contrast: A slight boost within the lifted shadows can restore the micro-contrast that gives texture its feel, preventing a muddy, flat appearance.
- Color Temperature: Shadows often carry a cooler color cast. Use a subtle warmth slider to neutralize grays and integrate the lifted areas with the overall skin tone.
- Texture Preservation/Clarity: This is your safeguard. A moderate negative adjustment can help the AI blend new information seamlessly with the original skin pore and hair detail.
Always balance AI automation with manual fine-tuning. After the initial AI pass, zoom to 100% and scrutinize for noise amplification or unnatural color shifts, particularly in transitional areas like the jawline. Use a layer mask to feather the effect or manually paint out enhancements on areas where the algorithm may have overstepped, such as the delicate catchlights in the eyes. The result should be a face where shadowed areas feel revealed, not artificially replaced, preserving the portrait’s authentic character and setting the stage for the final artistic polish.
Step 4: Final Polish and Artistic Refinement
With the AI-powered heavy lifting complete, the final step is a return to the photographer’s discerning eye. This stage is about artistic refinement, ensuring the technical enhancements serve the portrait’s emotional core. Begin by evaluating the overall image balance. Step away, then return with fresh eyes to assess if the shadow lift has created any unintended hotspots or flattened the depth. The goal is harmony, where enhanced shadows feel integral, not applied.
Now, perform meticulous final checks and adjustments:
- Color & Skin Tone Fidelity: Zoom in to check for subtle color casts, especially in midtone shadows. Use a Selective Color or Hue/Saturation layer on affected areas, often targeting reds and yellows, to restore natural skin pigment and ensure consistency across the face and neck.
- Targeted Dodging & Burning: Employ low-opacity brushes on a soft light layer to subtly reinforce catchlights, sculpt facial contours, or gently darken distracting bright areas, reinstating a perfect shadow hierarchy.
- Selective Sharpening & Noise: Apply sharpening only to critical details like eyes and lips using a mask. Conversely, add minimal noise reduction only to areas where the AI process introduced grain, preserving texture elsewhere.
Continuously compare before and after versions. This iterative process is crucial—toggle your adjustment layers on and off to ensure you’ve preserved the portrait’s original mood and authenticity. The most vital skill is knowing when to stop. Over-processing is the enemy of authenticity. Ask yourself: does the edit feel like a revelation of the subject, or an imposition upon them? For series consistency, save your refined layer stack as a preset or documented recipe, applying it as a starting point and adjusting for each image’s unique light and color. The polish is complete when the technical hand is invisible, and the human connection shines through.