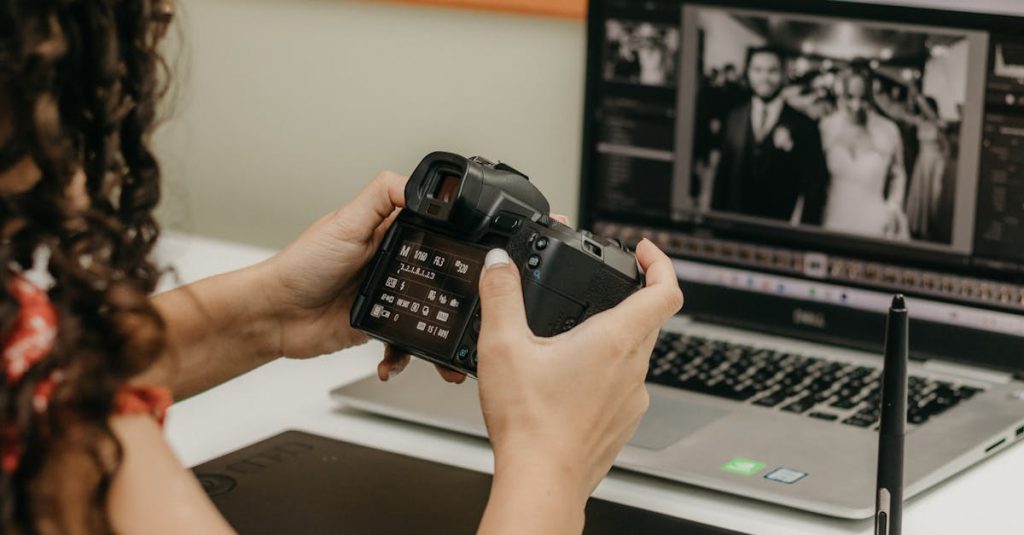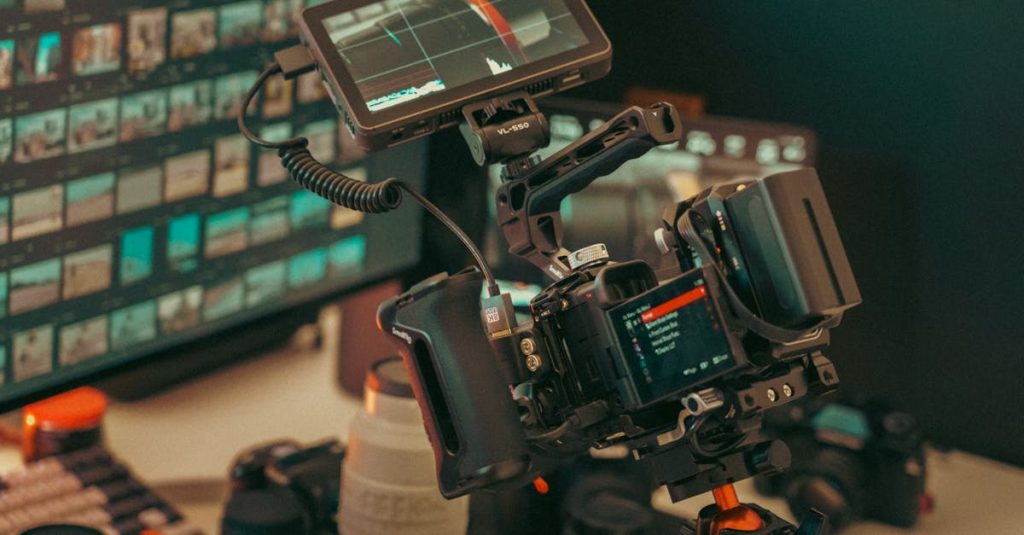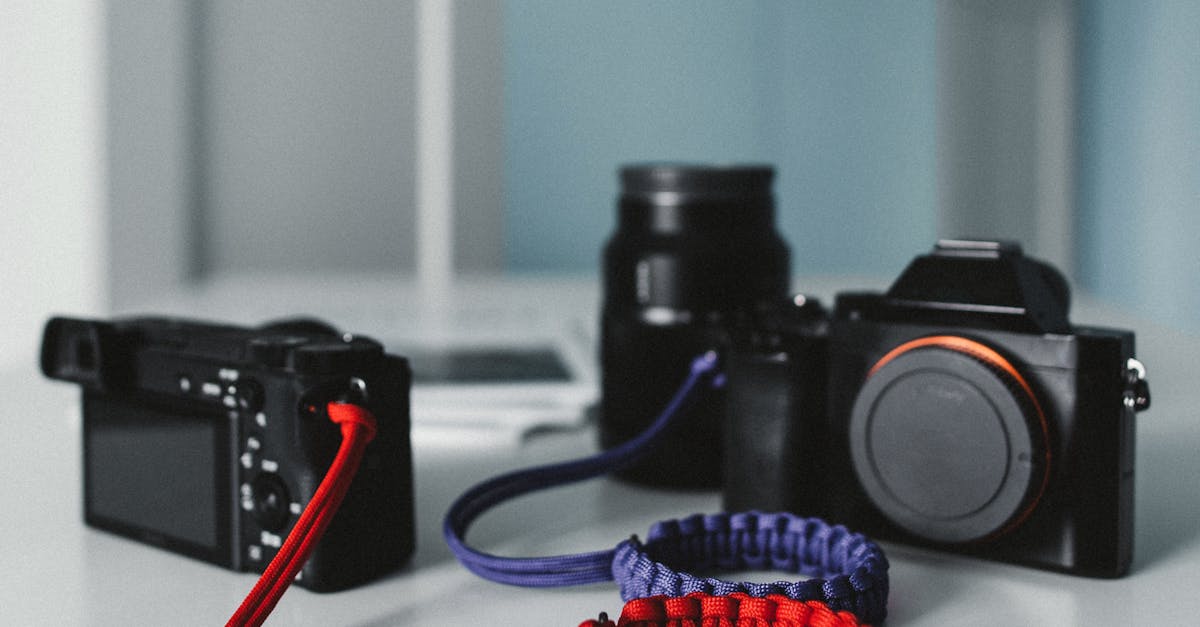

Choosing your first camera can be overwhelming with countless options available. This guide simplifies the process by highlighting the best beginner-friendly cameras under $500 for 2025. We’ll explore mirrorless systems, DSLRs, and advanced compacts that offer excellent value while providing room to grow as your skills develop. Discover which camera type matches your photography goals and budget.
Understanding Camera Types for Beginners
Before diving into specifications, it’s crucial to understand the fundamental types of cameras available. For a beginner, the choice primarily narrows down to three categories: mirrorless cameras, DSLRs, and advanced point-and-shoots. The core mechanical difference lies between the first two. A DSLR (Digital Single-Lens Reflex) uses a mirror mechanism inside the body. When you look through the optical viewfinder, light comes through the lens, bounces off this mirror, and goes up into a prism and into your eye. When you take a photo, the mirror flips up, the shutter opens, and light hits the sensor. A mirrorless camera, as the name implies, removes this mirror entirely. Light from the lens falls directly onto the image sensor, which then provides a preview to either the rear screen or an electronic viewfinder (EVF).
This architectural shift defines the modern beginner’s experience. Mirrorless cameras are generally more compact and lighter than DSLRs, a significant advantage for new photographers who want to carry their camera everywhere. The electronic viewfinder shows a digital preview of your exposure, meaning you see the effects of your settings changes in real-time—an invaluable learning tool. Their autofocus systems typically use on-sensor phase-detection, enabling fast, accurate focus across most of the frame, often with superior subject-tracking capabilities. The trade-off is battery life, as powering the EVF and sensor constantly drains power faster than a DSLR’s optical finder. DSLRs, while bulkier, offer excellent battery life and, through their optical viewfinder, a direct, lag-free view of your scene. The used market is also flooded with affordable DSLR lenses.
For beginners in 2025, mirrorless systems are overwhelmingly the recommended path. Their size encourages use, and their live-view-centric design with features like focus peaking accelerates the learning process. Within mirrorless, the Micro Four Thirds system, used by brands like OM System and Panasonic, is a standout for budget-conscious starters. The sensors are slightly smaller, allowing for exceptionally compact and affordable camera bodies and lenses without a drastic compromise in image quality.
However, a DSLR might still be preferable for a beginner who prioritizes battery life above all, enjoys the optical viewfinder experience, or has access to an existing collection of affordable lenses. Finally, don’t overlook advanced point-and-shoot cameras. These fixed-lense compacts, often with 1-inch or larger sensors, prioritize ultimate portability and simplicity. They offer manual controls in a pocketable body, making them perfect for the beginner who values discretion and convenience above lens interchangeability. Your choice among these three paths fundamentally shapes your photographic journey, influencing what you carry and how you interact with your tool.
Essential Camera Features and Specifications
Now that you understand the main camera types, let’s demystify the technical specifications you’ll encounter. For a beginner, these specs aren’t just numbers; they directly impact how you learn and the quality of your results.
The sensor is your camera’s digital film, and its size is crucial. In this budget range, you’ll primarily find APS-C (larger), Micro Four Thirds (smaller), and occasionally 1-inch sensors. A larger sensor generally captures more light, leading to better image quality, especially in low-light situations, and allows for more background blur (shallow depth of field). Don’t fixate on megapixels alone; a 20MP APS-C sensor will typically produce cleaner, more detailed images than a 24MP 1-inch sensor. Sensor quality and processing power matter more than the megapixel count for beginners.
Modern autofocus (AF) systems are a game-changer. Look for cameras featuring phase-detection autofocus, often hybridized with contrast-detection, for fast, reliable focusing. Many 2025 budget models now include basic AI-powered subject tracking (for people, animals, or vehicles), which locks onto and follows your subject—incredibly helpful for moving kids or pets. For video, ensure the camera offers reliable continuous autofocus that doesn’t constantly hunt for focus.
Video capabilities are now standard. Most cameras under $500 will shoot 4K video, but pay attention to the frame rate. 4K at 24 or 30 fps is common, but 60 fps provides smoother motion. 1080p Full HD at 60 or 120 fps is valuable for slow-motion playback. Image stabilization is vital for handheld video and low-light photography. It can be built into the lens (lens-based IS), the camera body (in-body IS, or IBIS), or both. Stabilization helps beginners achieve sharper shots without a tripod.
Consider the camera as a starting point in a lens ecosystem. A camera with a wide selection of affordable, compatible lenses (like those for Micro Four Thirds or certain APS-C mounts) offers more room to grow than a model with a limited lens selection. Finally, practical features matter: Wi-Fi and Bluetooth enable easy photo transfer to your phone for instant sharing. Note the battery life (measured in shots per charge); having a camera that charges via USB-C is a major convenience, allowing you to use power banks on the go. Understanding these features will help you match a camera’s capabilities to your photographic interests.
Top 5 Camera Recommendations Under $500
Now that you understand the essential features, let’s examine five specific cameras that deliver exceptional value for under $500. These picks balance the technical aspects discussed earlier with real-world usability for a new photographer.
Our best overall value is the Canon EOS R100 (approx. $499 with kit lens). This entry-level mirrorless camera features a large APS-C sensor and Canon’s intuitive menu system. Its key beginner-friendly feature is a dedicated “Guide Mode” built into the menu, explaining settings as you go. It uses a reliable Dual Pixel CMOS AF for smooth stills and video autofocus. It includes an RF-S 18-45mm kit lens, a versatile starting point. For video, it shoots 4K at 24p, though with a crop. Wi-Fi and Bluetooth enable easy mobile transfers. Battery life is good, but consider a spare.
For the aspiring best for video creator, the Sony ZV-E10 (body often under $500, look for bundle deals) is unmatched. Designed for content creators, it has a directional microphone, a product showcase setting that instantly shifts focus to an object held near the lens, and a clean HDMI output. Its APS-C sensor and fast real-time tracking autofocus keep subjects sharp. It typically comes with a 16-50mm power zoom lens, ideal for stable handheld shots. It records uncropped 4K video and has a fully articulating screen for vlogging. Connectivity is comprehensive, though battery life is average.
The most portable choice is the Olympus OM-D E-M10 Mark IVbest low-light performance, the used or refurbished Fujifilm X-T30 (often found under $500 for body only) is a stellar option. Its X-Trans APS-C sensor delivers exceptional image quality with unique color science. Paired with a fast prime lens like the affordable Fujifilm XC 35mm f/2 (adding ~$199), it excels in dim environments. Its controls, with dedicated dials for shutter speed and exposure compensation, teach photography intuitively. Autofocus is quick, and it shoots brilliant 4K video. This is a camera that grows with you.
Finally, for best for future growth, consider the Nikon Z 30 (kit often $499-$549, watch for rebates). This vlog-focused mirrorless camera has a deep grip and a simple interface. Its strength is the Nikon Z mount ecosystem—investing in Z lenses now ensures compatibility with higher-end bodies later. The 16-50mm kit lens is sharp and collapsible. It has excellent battery life, no-viewfinder design for screen-focused users, and strong hybrid autofocus. It records oversampled 4K video without a time limit, perfect for long sessions.
For travel and hobbyists, the Olympus or Canon offer great balance. Vloggers should lean toward the Sony or Nikon. Family photographers will appreciate the Canon’s guide mode or the Fujifilm’s JPEG quality straight out of camera. Remember, the kit lens is a starting point; your first upgrade should be a fast prime lens (like a 35mm or 50mm equivalent f/1.8) for better low-light and background blur, often available used within your total budget. Always check manufacturer refurbished stores for certified gear with warranties, stretching your dollars further.
Getting Started with Your New Camera
Congratulations on your new camera! The initial excitement can be followed by a bit of overwhelm, but don’t worry. This guide will help you move from unboxing to taking great photos.
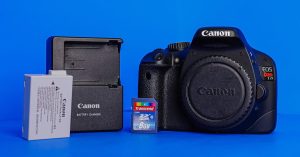
First, let’s get set up. Fully charge the battery using the provided charger. While it charges, familiarize yourself with the camera body. Locate the memory card slot—you’ll need a compatible SD card (Class 10 or UHS-I is a good start). Insert the battery and card, then power on. Take a few minutes to scroll through the main menu. Set the date and time, and consider setting image quality to Large/Fine JPEG for now—it’s perfect for learning and sharing. Format your memory card in the camera’s menu to ensure compatibility.
Now, the heart of photography: the exposure triangle. Think of a well-exposed photo as a bucket filled with water. Aperture (f-stop) is the size of the tap. A low number like f/2.8 is a wide-open tap, letting in lots of light and creating a blurry background (shallow depth of field). A high number like f/16 is a small tap, keeping more in focus. Shutter Speed is how long the tap is open. Fast speeds (like 1/1000s) freeze action. Slow speeds (like 1/30s) create motion blur. ISO is how much you stretch the water already in the bucket. Low ISO (100) is clean; high ISO (3200) brightens the image but adds grain or “noise.”
Your camera’s mode dial is your control center. Start in Full Auto to just get shooting. Move to Program (P) mode, which lets you adjust ISO and other settings while the camera handles aperture and shutter. To control background blur, use Aperture Priority (A or Av). To freeze or blur motion, use Shutter Priority (S or Tv). Try Manual (M) when you want full creative control.
Practice with these exercises. With your kit lens, shoot the same subject at its widest and most zoomed focal length to see perspective change. To see depth of field in action, line up three objects and shoot them at wide (e.g., f/3.5) and narrow (e.g., f/11) apertures. Shoot a stationary object indoors in low light, then by a window, noting how your camera settings change.
Composition elevates snapshots. Enable the grid overlay in your display and practice placing your subject where the lines intersect (Rule of Thirds). Look for natural leading lines like paths or fences to draw the eye into the frame. Use windows or archways to frame your subject.
After shooting, organize your photos by date or event on your computer. For editing, start with free software like Darktable or GIMP, or use the affordable, powerful Skylum Luminar Neo. Learn basic adjustments: exposure, contrast, and cropping.
As you grow, invest in lenses before a new body. A prime lens (like a 50mm f/1.8) or a versatile zoom will dramatically improve your image quality. Only upgrade the body when its limitations (like autofocus or low-light performance) consistently hinder your work.
Finally, care for your gear. Keep the camera in a bag when not in use. Use a lens brush or blower for dust—never your shirt. Avoid changing lenses in dusty or wet environments. With these fundamentals, you’re ready to explore. The best camera is the one you have with you, so get out and shoot.