
Discover how to instantly elevate your portrait photography with professional bokeh effects using our free overlay pack. Bokeh, the beautiful blur created by wide aperture lenses, transforms ordinary portraits into artistic masterpieces. This comprehensive guide explores how digital overlays can replicate this expensive optical effect with just one click, making professional-quality portraits accessible to every photographer.
The Art and Science of Bokeh in Photography
The term bokeh originates from the Japanese word boke (暈け or ボケ), which literally translates to “blur” or “haze.” In photographic parlance, it has come to specifically denote the aesthetic quality of the out-of-focus areas in an image, not merely their existence. This distinction is crucial; while any lens can produce blur, the character of that blur—whether it is harsh or creamy, busy or smooth—defines its bokeh. Understanding this character requires a dive into the optical science behind the image.
At its core, bokeh is a direct byproduct of a shallow depth of field. When a lens is focused on a subject, only a specific plane is critically sharp. Points of light from areas outside this plane are rendered not as points, but as discs. These are known as circles of confusion. The size, shape, and illumination of these discs are what we perceive as bokeh. A wide aperture (like f/1.4 or f/2.8) creates a very narrow depth of field, making these circles large and prominent, thus amplifying the bokeh effect. The aperture diaphragm itself physically shapes these discs; a lens with a perfectly circular diaphragm will produce soft, rounded bokeh balls, while a lens with a bladed, polygonal diaphragm may render them with distinct edges, which can be distracting.
However, the quality of bokeh is not solely dictated by the aperture shape. Complex lens design elements, including the number, arrangement, and curvature of the glass elements, along with the use of special glass types like ED or aspherical elements, profoundly influence the result. Optical aberrations like spherical aberration can cause the circles of confusion to be brighter at their edges (harsh “soap bubble” bokeh) or at their center (smoother, more gradual transition). A lens designer must carefully balance corrections for sharpness against the rendering of out-of-focus areas, which is why some lenses renowned for their clinical sharpness are often criticized for having “nervous” or “busy” bokeh.
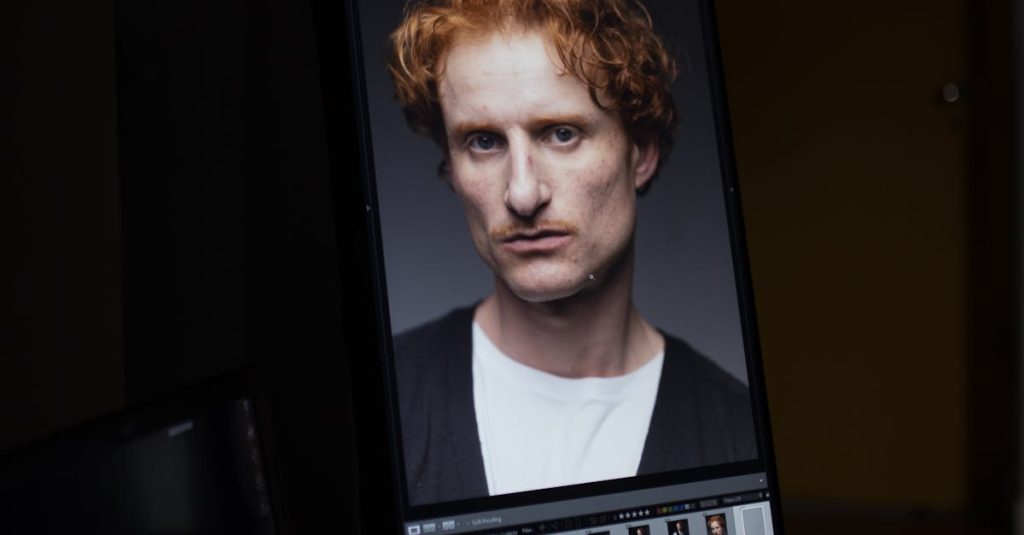
In portrait photography, this technical interplay serves a vital artistic purpose. Superior bokeh acts as a visual separator, transforming a potentially cluttered background into a uniform, non-distracting canvas of color and soft light. This isolation directs the viewer’s attention unequivocally to the subject’s eyes and expression, adding a three-dimensional pop and a sense of professional polish. It elevates the subject, both literally and figuratively, from their environment. Therefore, the pursuit of beautiful bokeh is not just about creating blur—it is about mastering the quality of that blur to craft emotion and focus, a principle that remains true whether the effect is achieved optically or digitally.
Traditional Portrait Photography Techniques
For decades, achieving the coveted professional portrait look was a pursuit grounded in meticulous technique and significant financial investment. The journey to that perfect shot, with a razor-sharp subject floating against a creamy, abstract background, began long before the shutter clicked. It was built on a triad of foundational skills: lighting, composition, and precise camera control.
Lighting was paramount. The classic three-point lighting setup—comprising a key light, a fill light, and a back light—was the industry standard for sculpting the subject’s face with dimension and separating them from the backdrop. This required not just multiple light sources, but modifiers like softboxes and reflectors, and the knowledge to balance their ratios. Composition followed, employing rules like the rule of thirds and careful framing to guide the viewer’s eye directly to the subject.
The final, crucial piece was optical bokeh creation. As explored in the previous chapter, bokeh is an optical phenomenon. Traditionally, photographers had to manipulate depth of field in-camera to generate it. This meant investing in fast prime lenses, like a 50mm f/1.8 or, ideally, an 85mm f/1.4. These lenses, with their wide maximum apertures, allowed for an extremely shallow depth of field. The photographer would then set the aperture to its widest setting (e.g., f/1.4) and position the subject a significant distance from the background. The combination of a wide aperture, a longer focal length, and a generous subject-background distance compressed the scene and rendered anything outside the focal plane as soft, out-of-focus circles of light.
The challenges of this traditional path were substantial. The financial barrier was the most obvious; professional-grade prime lenses with exceptional bokeh characteristics can cost thousands of dollars. Beyond cost, there was a steep technical learning curve. Mastering manual exposure, understanding hyperfocal distance, and nailing focus with a wafer-thin depth of field required practice and patience. Furthermore, the effect was baked into the original capture. If the bokeh was too harsh or the background separation insufficient, there were very few options for correction after the fact. This rigid, equipment-dependent process stood in stark contrast to the flexible, accessible digital alternatives that would soon emerge, democratizing the art form and shifting creative power from the lens to the software.
Digital Image Editing Revolution
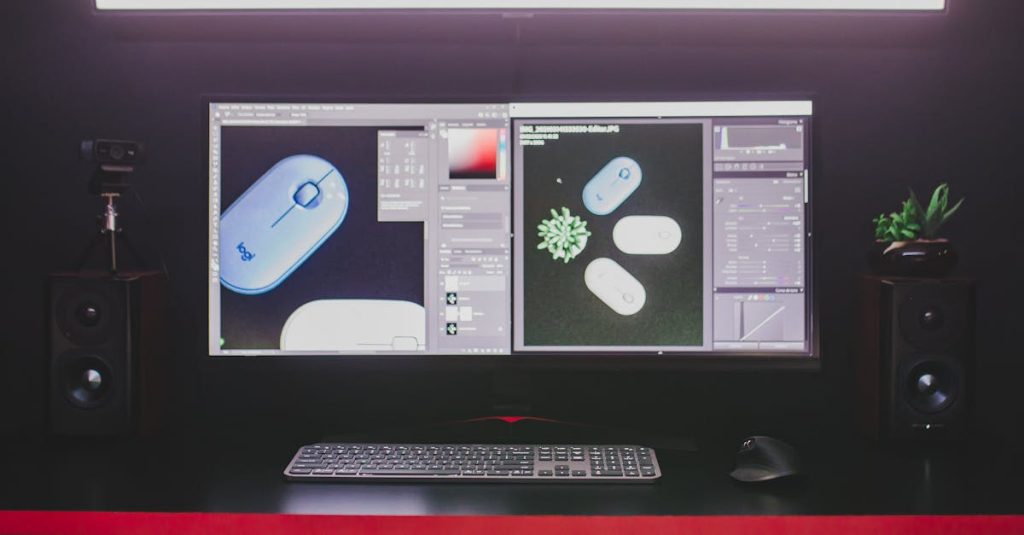
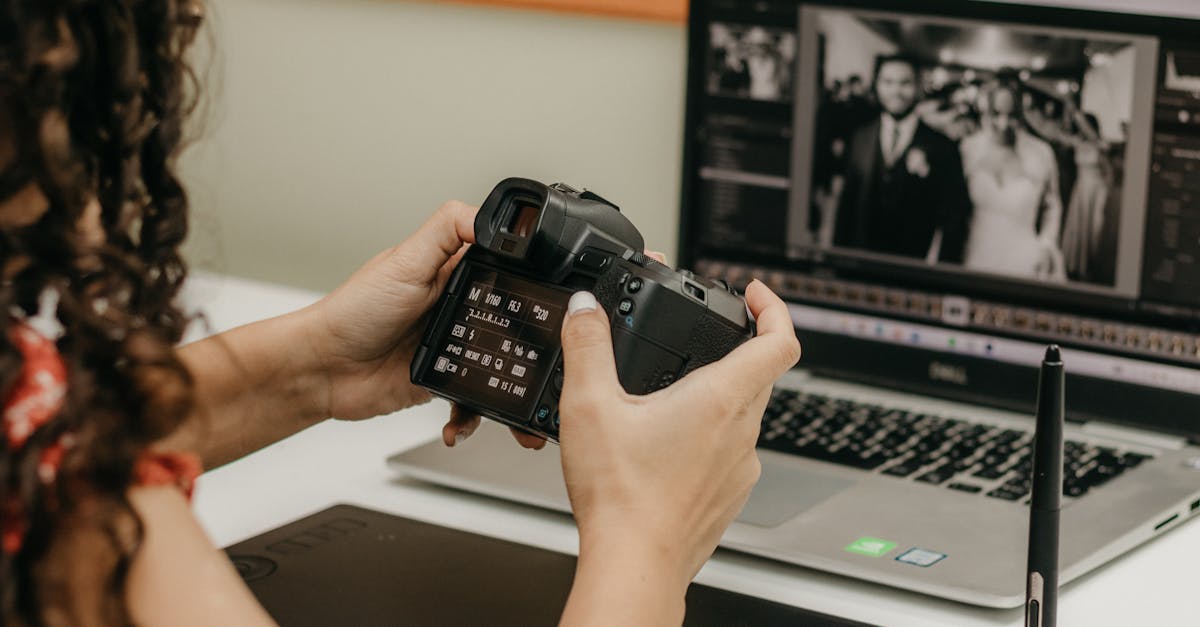
The journey from chemical baths to digital algorithms represents one of the most profound revolutions in creative history. Where the previous chapter detailed the physical mastery of light and lens, the digital darkroom liberated photographers from those material constraints. The evolution began with the painstaking, irreversible processes of dodging and burning in a traditional darkroom—a realm of precise timing and toxic chemicals where each adjustment was permanently etched onto the paper. The advent of software like Adobe Photoshop and Lightroom didn’t just streamline this process; it fundamentally redefined what was possible, shifting photography from a craft of pure capture to one of limitless post-capture potential.
At the heart of this revolution are three core digital principles: layers, masks, and blending modes. Think of a digital image not as a single canvas, but as a stack of transparent sheets. Each layer can hold different elements—a background, a texture, an effect—that can be rearranged, modified, or hidden independently. Masks act as precision erasers, allowing you to hide or reveal portions of a layer with soft, painterly control, seamlessly blending elements without deleting a single pixel. Blending modes are the magic glue, mathematical formulas that dictate how the pixels on one layer interact with those beneath it, creating effects from subtle contrast boosts to dramatic light overlays.
This workflow champions non-destructive editing. Unlike slicing into a physical negative, every change is adjustable. Adjustments live on separate layers or as editable instructions, meaning you can alter a filter’s intensity or reposition an element weeks later. It is within this non-destructive framework that tools like bokeh overlay packs find their power. An overlay is simply an image layer—often containing specular highlights, textures, or, in this case, beautiful bokeh balls—that you place above your portrait. Using blending modes like Screen or Lighten, which ignore black and dark pixels, only the pure light points of the overlay blend into your image. You then use a mask to expertly brush the effect only where desired, perhaps softening it around the subject’s face for a natural look.
This digital toolkit is the great democratizer. It decouples elite visual effects from elite hardware. The dreamy bokeh background, once the exclusive domain of fast, expensive prime lenses, can now be sculpted in post-production. This doesn’t devalue traditional expertise but expands the creative playing field, allowing photographers at any budget to explore professional-grade aesthetics and focus purely on their artistic vision, knowing the perfect atmosphere can be layered in with a click and a brush.
Understanding Photo Overlays and Their Applications
Building on the digital editing revolution, we arrive at a powerful tool that epitomizes its efficiency: the photo overlay. At its core, a photo overlay is a digital image, often with transparent areas, designed to be placed over a base photograph. It functions much like a physical transparency sheet. The magic happens through blending modes and layer opacity controls within your editing software. These settings mathematically merge the pixels of the overlay with those of the base image, allowing effects to integrate seamlessly rather than simply obscuring the original photo.
Technically, a high-quality overlay is defined by its resolution and file format. Resolution must be high—typically 300 DPI or more—to ensure it scales up for print or detailed work without pixelating. The most useful formats preserve transparency. PNG files are the industry standard for this, as they support an alpha channel that defines clear and opaque areas. Some packs also include TIFF or PSD files, which can offer greater depth for advanced editing. The overlay’s utility hinges on this transparency; it’s what allows the bokeh to appear only in the desired areas, not as a solid white block.
While overlays come in countless varieties—from light leaks and textures to skies and dust—bokeh-specific overlays are a category of their own. They are meticulously crafted images of out-of-focus light points, often captured with premium lenses, then isolated for your use. This provides the aesthetic of a fast lens, characterized by creamy, blurred backgrounds that make subjects pop, but without the associated cost or technical challenge.
The application of these tools extends far beyond portrait work. In product photography, a subtle bokeh overlay can add a touch of elegance and focus to commercial images. Wedding photographers use them to enhance reception shots, adding a romantic sparkle to ambient lights. For creative projects, overlays can build atmosphere, suggest fantasy elements, or simply add visual interest to a flat composition. The true power lies in the combination of speed and quality. What might take hours to create manually—simulating realistic lens blur and light interaction—can be achieved in moments. This allows photographers to maintain a consistent, professional aesthetic across a shoot, dedicating more time to composition and client interaction rather than tedious post-processing. It is a perfect example of how smart digital tools amplify creativity rather than replace it.
Our Free Bokeh Overlay Pack Features
Now that you understand the transformative power of photo overlays, let’s explore exactly what you’ll find inside our exclusive free pack. This collection is meticulously curated to provide portrait photographers with a versatile toolkit for creating stunning, professional-grade bokeh effects instantly.
The pack contains four distinct bokeh styles, each designed to evoke a different mood and complement various portrait scenarios. First, the Soft Glow overlays provide a subtle, ethereal haze, perfect for adding a dreamlike, romantic atmosphere to engagement or maternity shoots. Second, the Classic Circles feature authentic, out-of-focus light orbs that mimic the look of fast prime lenses, ideal for adding depth and a nocturnal, urban feel. Third, the Sparkle & Glitter effects introduce tiny, sharp points of light that catch the eye, excellent for adding a festive or magical touch to portraits. Finally, the Organic Texture overlays include softer, irregular shapes that resemble light filtering through leaves, bringing a natural, sun-dappled quality to outdoor portraits.
Technically, every overlay is crafted for professional use. They are provided in high-resolution PNG format (300 DPI at 4000×4000 pixels minimum), ensuring they can be scaled to fit modern camera files without any loss of quality or visible pixelation. The PNG format’s built-in transparency channel is key—it means the dark backgrounds are completely invisible, allowing only the light effects to blend seamlessly with your image. This makes the pack universally compatible with all major editing software, including Adobe Photoshop, Lightroom, GIMP, Affinity Photo, and even mobile apps like Photoshop Express or Snapseed that support layer functionality.
Organization is streamlined for efficiency. The files are logically named and grouped by style (e.g., “Soft_Glow_01.png”), so you can quickly preview and select the right effect without guesswork. The true value, however, lies in their customizability. While designed for one-click use, each overlay is a standalone element on a transparent layer. This allows for profound creative control; you can stack multiple overlays for complex scenes, use color grading to tint the bokeh to match your scene’s white balance, or employ advanced blending modes like “Screen” or “Linear Dodge (Add)” for perfectly natural integration. This pack gives you the aesthetic results of expensive glass, with the creative flexibility that only digital artistry can provide.
Step-by-Step Guide to One-Click Portrait Transformation
Now that you have the pack downloaded and understand its features, let’s transform a portrait. First, ensure the overlay files are in an easily accessible folder. For software like Adobe Photoshop, you can simply drag and drop the PNG file onto your open portrait image; it will appear as a new layer. In Lightroom, use the Photo > Edit In > Open as Layers in Photoshop command if you want layer control, or apply it via the Adjustment Brush by importing the overlay as a custom brush preset. For GIMP or Affinity Photo, the process is similar: use File > Open as Layers.
The true one-click magic begins. With your chosen overlay layer selected, change its blending mode from Normal to Screen or Lighten. This instantly removes the dark background, leaving only the luminous bokeh effect over your portrait. You will see an immediate transformation, adding depth and a professional polish. For a quick before-and-after, toggle the overlay layer’s visibility on and off.
To move beyond one-click and truly customize, dive into these adjustments. Use the Opacity slider to control the effect’s intensity—often, 50-80% yields a more natural result. Experiment with blending modes: Overlay can add contrast and punch, while Soft Light gives a subtle glow. The most powerful tool is layer masking. Add a mask to the overlay layer and use a soft black brush to paint over your subject’s face, particularly the eyes and skin details, allowing the effect to fall beautifully into the background and highlights without washing out critical features.
Match the overlay to your image. For a soft, romantic portrait, use the soft glow styles at lower opacity. For a dynamic fashion shot with studio lighting, the sparkle or crisp circles can enhance the existing catch lights and add energy. If your portrait has warm, golden-hour light, choose a warmer bokeh overlay; for cool, moody lighting, a cooler or neutral overlay will blend seamlessly.
Troubleshooting is straightforward. If the overlay looks harsh or artificial, reduce opacity and ensure the blending mode is correct. If it flattens the image, use a mask to paint it off the subject, restoring depth. If colors look odd, try the Desaturate command on the overlay layer for a neutral effect, or use a Color Balance adjustment clip to match your image’s palette. Remember, the goal is enhancement, not overpowering your original photography.
Creative Applications and Professional Results
Moving beyond the basic one-click transformation, the true power of bokeh overlays lies in their creative versatility. While the previous chapter equipped you with the technical know-how, this section explores the artistic vision, demonstrating how these tools can elevate your work from enhanced to exceptional across various professional genres.
For editorial and fashion portraits, bokeh is not just a background blur; it’s a narrative device. A soft, golden bokeh overlay can infuse a lifestyle portrait with warmth and a sun-drenched, nostalgic feel, perfectly complementing natural light. Conversely, for a high-fashion shot, try layering a stark, geometric bokeh with cold, cyan tones over a more subtle base overlay. This creates a futuristic, edgy atmosphere that aligns with avant-garde styling. The key is intentionality: match the overlay’s character—its shape, color temperature, and texture—to the story you are telling.
To build unique, signature effects, don’t hesitate to combine multiple overlays. Start with a base layer of soft, out-of-focus circles to establish depth. Then, add a second overlay with larger, more distinct bokeh shapes, using a blending mode like Screen or Lighten and drastically reducing its opacity. This adds complex, multi-dimensional sparkle without looking artificial. You can even use a subtle overlay on a subject’s catchlights or jewelry to make them twinkle, a trick often used in beauty photography.
For professionals, consistency is currency. Bokeh overlays offer a powerful, yet often overlooked, branding tool. By consistently applying a specific bokeh style—perhaps a distinctive hexagonal shape or a particular color palette—across your portrait portfolio, you create a recognizable visual signature. A wedding photographer might use a soft, romantic bokeh with warm tones in all client galleries, while a concert photographer could employ a gritty, high-contrast bokeh to establish a dynamic brand identity. This subtle repetition makes your work instantly identifiable.
Consider a case study: a portrait taken in a cluttered office. The basic application removes the distraction. But by choosing an overlay with elongated, cat’s eye bokeh shapes (simulating anamorphic lens flare) and a warm tone, the photographer transformed the image into a cinematic hero shot, suggesting ambition and drama. The result feels cohesive because the overlay’s light direction matches the scene’s existing light source, and its intensity is carefully balanced with masking to keep the subject naturally integrated. The best practice is always to serve the portrait, not the effect. Use layer masks to ensure bokeh never competes with the subject’s eyes, and always adjust the overlay’s color to harmonize with your white balance, maintaining that crucial, natural-looking finish.