
Entering the world of photography can be overwhelming with countless camera options available. This comprehensive guide simplifies your search by analyzing the top 5 beginner-friendly cameras under $500 for 2025. We’ll explore key features, performance capabilities, and value propositions to help you make an informed decision that matches your photography goals and budget.
Understanding Camera Types for Beginners
For a beginner in 2025, the first and most crucial step is understanding the landscape of camera types. The market has undergone a seismic shift, moving decisively from the once-dominant DSLR to the now-ubiquitous mirrorless system. This evolution is central to making an informed choice today. Let’s break down the three primary categories you’ll encounter: mirrorless cameras, DSLRs, and advanced compact cameras.
The fundamental difference lies in the viewing system. A DSLR (Digital Single-Lens Reflex) uses a mirror and an optical viewfinder. When you look through the viewfinder, you’re seeing light coming directly through the lens via a mirror. When you press the shutter, that mirror flips up, allowing light to hit the sensor and capture the image. This reliable, decades-old design is why you can find excellent used DSLRs within our budget. However, their mechanical nature makes them bulkier, and their autofocus for video is often less sophisticated.
In contrast, a mirrorless camera eliminates the mirror and optical viewfinder entirely. Light hits the image sensor continuously, and a miniature electronic viewfinder (EVF) or the rear screen displays a live preview of your exposure, white balance, and depth of field. This “what you see is what you get” experience is invaluable for learning. The removal of the mirror box allows for smaller, lighter bodies and more advanced on-sensor autofocus technologies. For beginners in 2025, mirrorless is the clear, future-proof path. It’s where all major manufacturers, including Canon, are investing heavily.
Canon’s journey exemplifies this shift. Their legendary EOS system began with film SLRs, transitioned seamlessly into the digital era with EF-mount DSLRs, and has now fully embraced the mirrorless future with the RF mount. While new RF lenses are designed for mirrorless, Canon and third parties offer adapters that allow beginners to use the vast, affordable library of older EF DSLR lenses on new mirrorless bodies, a huge advantage for those on a budget.
The third category is the advanced compact camera, often with a fixed lens. These pocketable powerhouses, like the Sony RX100 series or Canon PowerShot G7 X models (if found used under $500), offer large 1-inch sensors and manual controls. They sacrifice the versatility of interchangeable lenses for ultimate portability and simplicity, making them fantastic for travel or vlogging beginners who prioritize convenience.
Your choice intertwines with sensor size. Most beginner-friendly cameras under $500 feature an APS-C sensor, which is larger than a smartphone sensor but smaller than a professional full-frame sensor. APS-C offers excellent image quality, better low-light performance than compacts, and allows for background blur (bokeh). It also keeps lenses smaller and more affordable. Full-frame sensors, while superior in ultimate quality, are rare in this price bracket and come with larger, costlier lenses.
So, which type is best for you? If you are serious about learning the craft and building a system, a used or entry-level mirrorless camera with an APS-C sensor is the 2025 gold standard. It offers the best balance of modern features, learning tools, and growth potential. A used DSLR is a budget-conscious entry point to interchangeable lenses, ideal for a hands-on learner who doesn’t mind older technology. The advanced compact is for the beginner whose primary goal is to carry a capable camera everywhere, prioritizing candid shots and video without the complexity of lenses. Understanding these core types lays the foundation for evaluating the specific features that will empower your photographic journey.
Essential Features Every Beginner Should Consider
Now that you understand the primary camera types available, it’s time to delve into the specific features that separate a good beginner camera from a frustrating one. While specs can be overwhelming, focusing on a few key areas will ensure your first camera is a capable tool that grows with you, not an obstacle to your creativity.
At the heart of every digital camera is its image sensor. You’ll predominantly encounter CMOS sensors, which are the modern standard due to their excellent low-light performance, fast readout speeds (crucial for video and burst shooting), and energy efficiency. However, you might hear seasoned photographers nostalgically mention CCD sensors. While largely obsolete in new cameras, CCDs were celebrated for their unique, often “film-like” color rendition and smoother tonal transitions. Some beginners seek out older CCD-sensor cameras for this distinctive look, but for a primary, versatile tool, a modern CMOS sensor is the unequivocal choice for its overall performance and features like live view.
A camera’s autofocus (AF) system is critical. Look for systems offering both reliable single-point AF for precise control (like focusing on a subject’s eye) and competent continuous or tracking AF for moving subjects. Many modern cameras under $500 now include sophisticated subject detection (like eye or face AF), which is a huge boon for beginners shooting portraits or pets. Paired with AF, image stabilization is a game-changer. In-body stabilization (IBIS) compensates for hand shake across all lenses, while lens-based stabilization is also effective. This feature allows you to shoot at slower shutter speeds without blur, expanding your low-light capabilities.
Consider how you’ll use the camera. For video content creation, prioritize models with clean HDMI output, a microphone input, and 4K recording without severe crop. Travel photographers should weight battery life and size heavily. Cameras using proprietary lithium-ion batteries typically offer more compact designs and longer life per charge, but being stranded without power is a real risk. Some rugged or entry-level models use standard AA or AAA batteries, a major advantage for accessibility and emergency power anywhere in the world.
Never underestimate the user interface and physical controls. A well-designed menu with helpful guides and a mode dial with clear icons (Auto, P, S, A, M) is essential for learning. Dedicated dials for shutter speed and aperture provide tactile feedback that helps internalize exposure principles faster than menu-diving. For connectivity, ensure the camera has Wi-Fi or Bluetooth for easy image transfer to your phone. Finally, check memory card compatibility. Most cameras in this range use SD cards; aim for models compatible with the higher-capacity, faster SDXC cards to avoid limitations with video or continuous shooting.
Prioritize based on your goal: a vlogger needs a flip screen and great autofocus in video mode; a portrait photographer should seek a camera with good skin tone rendering and eye AF; a travel adventurer needs a robust build, image stabilization, and simple battery solutions. By aligning these essential features with your intended use, you’ll find a camera that feels less like a complex gadget and more like an extension of your creative vision.
The Top 5 Camera Picks for 2025
Now that you understand the essential features to look for, let’s examine five specific cameras that deliver exceptional value for under $500 in 2025. These picks balance performance, usability, and system potential, ensuring your first camera is a tool you can grow with.
Our first pick is the Sony ZV-E10 Mark I. While not a 2025 release, its price has dropped firmly into the beginner sweet spot. It features a large 24.2MP APS-C CMOS sensor, the same found in more expensive Sony models, offering excellent low-light performance and shallow depth of field. Its standout feature is its autofocus system, with real-time tracking and Eye AF that is incredibly reliable for both photos and video. It is purpose-built for content creators, with a vari-angle touchscreen, superior in-camera microphone, and a product showcase mode. Its weakness is the lack of an electronic viewfinder, which can be challenging in bright sunlight. The Sony E-mount lens ecosystem is vast, with many affordable third-party options from Sigma and Tamron, making future upgrades straightforward.
Second is the Canon EOS R100. Canon’s most affordable entry into its RF mirrorless system, the R100 is a gateway to a future-proof lens mount. It uses a 24.1MP APS-C CMOS sensor and leverages Canon’s renowned Dual Pixel CMOS AF for smooth, accurate focusing in video and stills. Its design is simple, with a clear menu system and a built-in electronic viewfinder. The trade-off is the use of an older Digic 8 processor and a fixed, non-touch-sensitive rear screen, which feels dated. However, for a learner who prioritizes still photography and wants direct access to the growing RF and RF-S lens lineup, it’s a compelling, no-frills choice that excels in portrait and everyday shooting.
Third, we have the OM System OM-5 (used/refurbished). Finding this weather-sealed micro four-thirds powerhouse new under $500 is tough, but excellent used copies are plentiful. It packs professional-grade computational features like Live Composite and Handheld High-Res mode into a tiny, rugged body. Its 20MP Micro Four Thirds sensor is smaller, but its in-body image stabilization (IBIS) is legendary, allowing sharp shots at very slow shutter speeds. The autofocus is fast and the system is packed with features for macro, landscape, and travel photographers. The vast Micro Four Thirds lens ecosystem from OM System and Panasonic offers high-quality, compact, and often affordable lenses, making it the ultimate travel companion.
Fourth is the Fujifilm X-T200 (used/refurbished). This camera wins on user experience and image aesthetics. It boasts a 24.2MP APS-C sensor and a superb 3.5-inch vari-angle touchscreen. Its major strength is Fujifilm’s Film Simulation modes, like Classic Chrome and Acros, which produce beautiful JPEGs straight out of camera, reducing the need for immediate post-processing. This is ideal for beginners who want to focus on composition and enjoy the craft. The autofocus is competent, though not class-leading. The X-mount lens system is excellent, with many affordable vintage and third-party options. Its lightweight body and engaging controls make learning photography a genuine pleasure.
Finally, the Nikon Z 30 is a vlogging-centric camera that doubles as a fantastic stills shooter. This purpose-built content camera features a 20.9MP APS-C sensor, Nikon’s reliable Eye-Detection AF, and clean, simple menus. It has no electronic viewfinder, like the Sony ZV-E10, but it boasts exceptional battery life and a flip-out screen perfect for self-recording. Its strengths are its straightforward operation, excellent video quality, and robust build. It uses the Nikon Z mount, ensuring a long-term upgrade path with access to both DX and full-frame FX Z lenses. For the beginner focused on hybrid photo and video creation, especially for social media, the Z 30 offers a seamless and high-quality starting point.
Mastering Basic Photography Settings
Now that you have your new camera, it’s time to move beyond the green Auto box. Understanding a few core settings will transform your camera from a point-and-shoot into a creative tool. This mastery begins with the exposure triangle: aperture, shutter speed, and ISO. Think of a well-exposed photo as a bucket filled with the right amount of water (light). Aperture (f-number) is the size of the tap. A wide aperture (like f/1.8) lets in a lot of light quickly and creates a blurry background (shallow depth of field), perfect for portraits. A narrow aperture (like f/16) lets in less light and keeps more of the scene in focus, ideal for landscapes. Shutter speed is how long the tap is open. Fast speeds (like 1/1000s) freeze action, while slow speeds (like 1/30s) create motion blur. ISO is your sensitivity to the light. Low ISO (100-400) gives clean images in bright light, while high ISO (1600+) brightens shots in the dark but adds grain or “noise.”
Your camera’s shooting modes help you control these elements. Start in Program Auto (P), which handles everything but lets you adjust the ISO and exposure compensation—a perfect first step. As you learn, try Aperture Priority (A or Av) to control depth of field for portraits or landscapes, and Shutter Priority (S or Tv) to control motion in sports or waterfalls. Graduate to Manual (M) when you want full creative command. For focus, use Single AF for still subjects and Continuous AF for anything moving. Set your metering mode to Evaluative/Matrix for most scenes; it intelligently analyzes the whole frame.
Practical exercises are key. First, practice the triangle: put your camera in Aperture Priority and take the same photo at f/5.6, f/8, and f/16 to see the depth of field change. Then, in Shutter Priority, photograph a moving subject at 1/500s and 1/30s. For composition, spend an afternoon shooting only with a 50mm equivalent focal length or using the “rule of thirds” grid in your viewfinder. Try different genres: for landscapes, use a narrow aperture (f/8 or higher) and a low ISO at golden hour. For portraits, use a wide aperture (like f/2.8) to blur the background and focus on the eyes. For street photography, use Aperture Priority with a mid-range aperture (f/5.6-8), set your ISO to Auto with a maximum of 1600, and use zone focusing to capture moments quickly.
Learn to read the histogram, the graph on your camera’s screen. A balanced exposure typically shows a mountain-like shape in the middle. If the graph is bunched to the left, your image is too dark (underexposed); bunched to the right, it’s too bright (overexposed), risking lost details. Use the exposure compensation button (+/-) to quickly brighten or darken your shot without leaving your semi-auto modes. Finally, set your camera to shoot in RAW + JPEG. The JPEGs are ready to share, but the RAW files contain all the image data, allowing you to correct exposure, adjust white balance, and recover shadows/highlights in free software like Darktable or RawTherapee. A basic post-processing workflow involves importing, culling selects, adjusting exposure and white balance, then applying subtle sharpening before export. This foundational knowledge turns the technical specs of your chosen camera into tangible creative control.
Building Your Photography Kit on a Budget
Now that you understand how to use your camera, let’s build a complete kit that supports your learning without draining your wallet. The key is strategic allocation: your $500 budget must cover not just the camera body, but the essential ecosystem that brings it to life.
First, prioritize your core purchase. With a $500 ceiling, you are likely looking at a capable used camera body and lens combo, or a new entry-level model on sale. Assume your camera and its included kit lens (like an 18-55mm) will consume $350-$450 of your budget. This leaves a crucial $50-$150 for accessories that make shooting possible and enjoyable.
Essential Accessories You Cannot Skip:
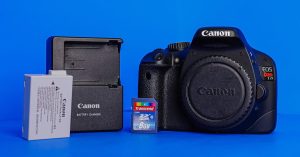
- Memory Card: Do not buy the cheapest card. You need speed and reliability. Look for a reputable brand (SanDisk, Sony, Lexar) with a Class 10/UHS-I rating or higher. Format matters: SDHC cards go up to 32GB, while SDXC cards handle 64GB and beyond, which is ideal for shooting RAW files as discussed previously. A 64GB card is a great starting point.
- Extra Battery: One battery never lasts a full day of practice. A third-party battery from a trusted brand like Wasabi Power or Duracell is a budget-friendly must-have.
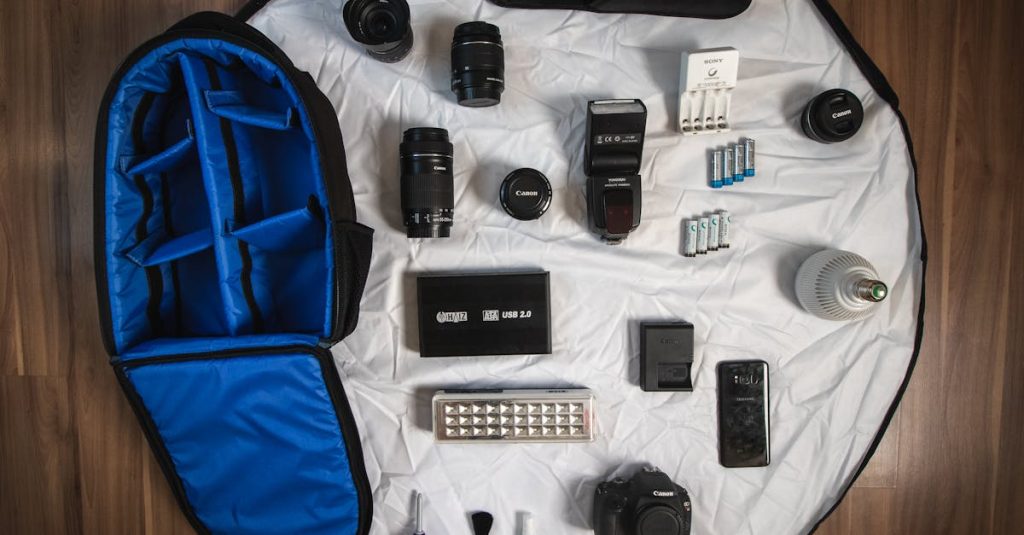
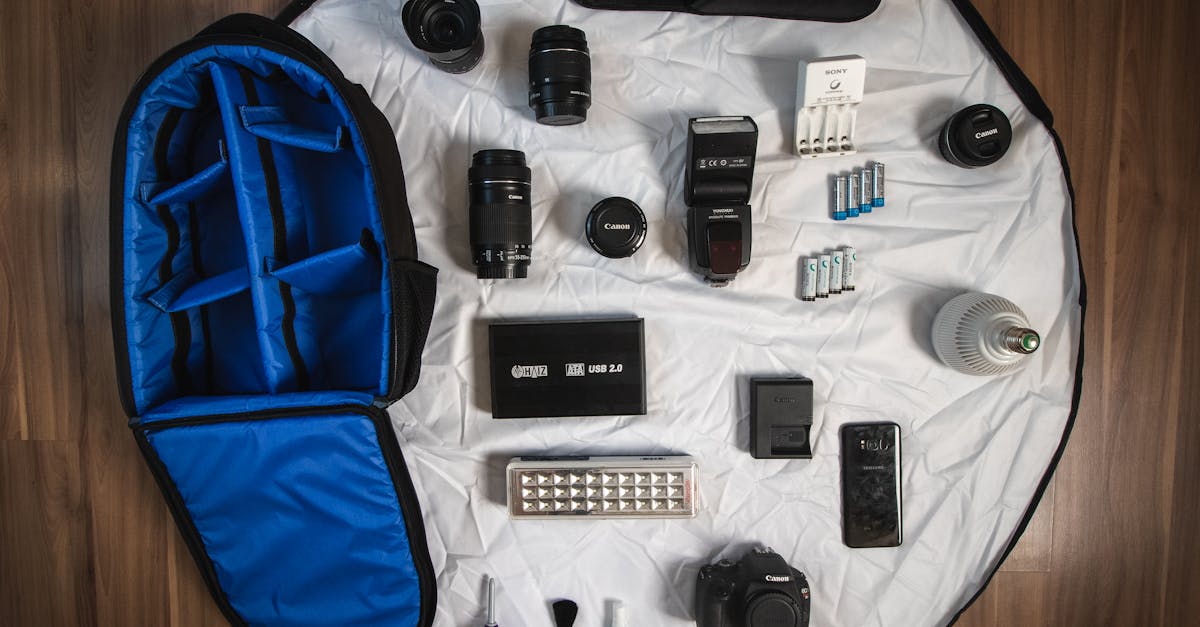
- Basic Camera Bag or Insert: Protection is non-negotiable. A simple padded sling bag or even a durable camera insert you can drop into your existing backpack will safeguard your investment.
Expanding Your Kit Wisely:
Before chasing more gear, master your kit lens. Its variable aperture is perfect for learning composition and the exposure triangle. However, your first meaningful upgrade could be a prime lens, like a 50mm f/1.8 or 35mm f/1.8. These fixed focal length lenses offer superior sharpness and wide apertures for beautiful background blur (bokeh) and low-light performance. Hunt for used versions; they are legendary for value and will profoundly impact your photography more than any other accessory.
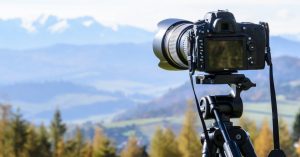
A sturdy, lightweight tripod is invaluable for landscapes, low-light shots, and self-portraits. Look for used name-brand models or affordable new options from Neewer or Amazon Basics. For filters, skip cheap kits. A single, decent circular polarizing filter (CPL) for your kit lens enhances skies and cuts reflections, providing a tangible effect you can’t replicate in software. Basic lighting can start with a simple 5-in-1 reflector disc, which uses natural light beautifully for portraits.
For software, use free, powerful tools. Darktable or RawTherapee are excellent free RAW editors. For organization and basic edits, Google Photos or Apple Photos are more than capable. GIMP is a free alternative to Photoshop for more advanced edits.
When buying used, use reputable platforms like KEH or MPB that grade equipment. For private sales, inspect the lens for fungus (hair-like patterns) and dust, check the camera sensor for stains by taking a photo of a white wall at a narrow aperture (like f/16), and test all buttons and dials. Always clean gear with a soft brush and microfiber cloth—never touch the sensor.
Sample $500 Budget Breakdown:
- Used Camera Body + Kit Lens: $400
- 64GB SDXC Memory Card: $15
- Extra Third-Party Battery: $20
- Basic Padded Camera Bag: $30
- Used 50mm f/1.8 Prime Lens: (Save for this as your next $100 purchase)
- Remaining for a future tripod or filter: $35
This approach gives you a fully functional, protected kit with room to grow. Remember, the best accessory is a charged battery and a clear memory card, ready for you to go out and shoot.