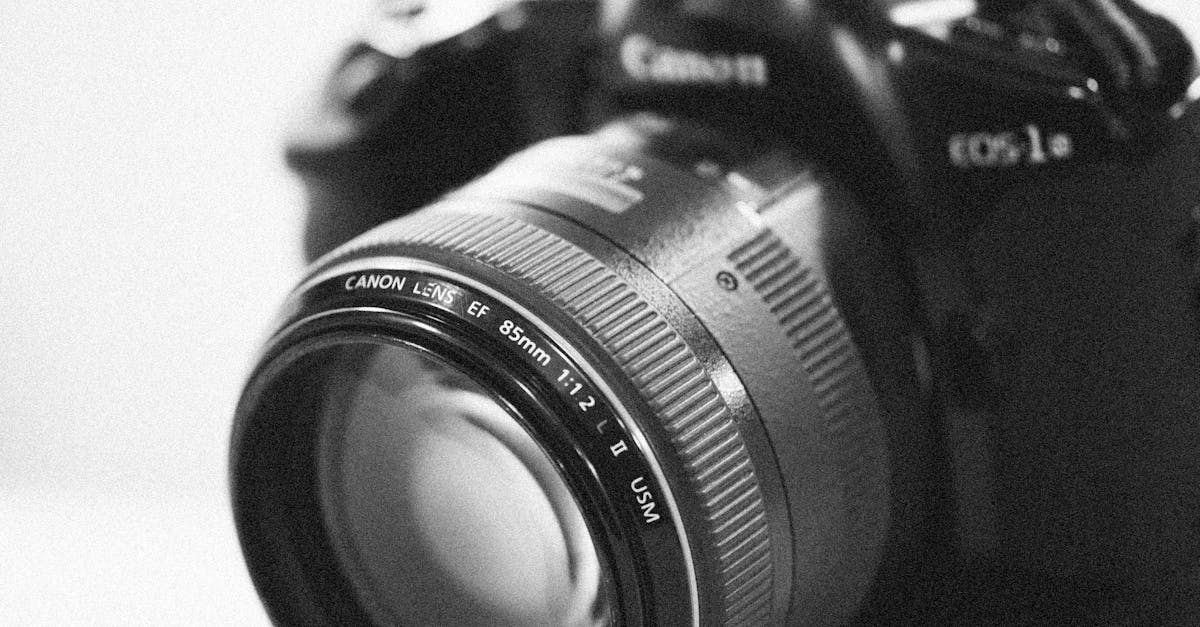

Capturing perfect portraits doesn’t require hours of technical study. This comprehensive cheat sheet breaks down the essential camera settings that professional portrait photographers use daily. Learn how to control depth of field, achieve perfect exposure, and create flattering lighting effects in just five minutes. Whether you’re shooting with a DSLR, mirrorless, or advanced compact camera, these settings will transform your portrait photography immediately.
Understanding the Exposure Triangle for Portraits
Think of the exposure triangle as the three dials you must balance to create a perfectly lit portrait. It consists of aperture, shutter speed, and ISO. Each controls a specific aspect of light and image quality, and changing one forces you to adjust the others to maintain the same overall exposure. For portrait photographers, mastering this balance is about achieving proper brightness while prioritizing the aesthetic qualities that flatter your subject.
Aperture is your primary creative tool for portraits. It controls the lens diaphragm’s opening, measured in f-stops (like f/1.8, f/4, f/8). A lower number means a wider opening. Crucially, aperture dictates depth of field—how much of your image is in sharp focus. A wide aperture (e.g., f/1.8) creates a very shallow depth of field, beautifully blurring the background to isolate your subject. This is why portrait lenses often have apertures of f/1.8 to f/2.8. For scenarios requiring more focus, like a group portrait, you’d use a narrower aperture like f/5.6 or f/8.
Shutter speed controls how long the camera’s sensor is exposed to light. For sharp portraits, this is your guard against blur from camera shake or subject movement. A good rule is a minimum of 1/125th of a second for a still subject. If your subject is moving, or you’re hand-holding a telephoto lens, you’ll need to go much faster, like 1/500s or more. In low light, you may be tempted to slow the shutter, but this risks blur, so adjusting the other two elements is preferable.
ISO is your sensor’s sensitivity to light. A low ISO (100-400) gives the cleanest image. In bright light, keep it low. As light fades, you increase ISO to maintain exposure, but this introduces digital noise or grain. Your goal is to keep ISO as low as possible while using an aperture and shutter speed that achieve your creative and technical goals. For example, an indoor portrait might start at f/2.8, 1/200s, and ISO 800. An outdoor portrait on a sunny day could be f/2.8, 1/2000s, ISO 100. The triangle is a constant negotiation: opening the aperture wider lets you use a faster shutter speed or lower ISO, keeping your portraits sharp and clean.
Aperture Mastery for Perfect Background Blur
Now that you understand how aperture fits into the exposure triangle, let’s dive deeper into its most powerful artistic function: controlling depth of field to create that beautiful, professional background blur, or bokeh. This is where you transform a snapshot into a portrait by making your subject pop from their surroundings.
Aperture is measured in f-stops, and the key principle is counterintuitive: a lower number (like f/1.8) means a larger lens opening and a shallower depth of field. This shallow plane of focus is what renders backgrounds soft and creamy. The mathematical relationship is quadratic; moving from f/2.8 to f/2 doesn’t just double the light, it significantly reduces the depth of field, making background blur more pronounced. Your choice of aperture is a balancing act between isolating your subject and keeping crucial features sharp.
For different portrait scenarios, optimal apertures vary. For a tight headshot, use a wide aperture like f/1.8 to f/2.8. This creates extreme separation, but be cautious: at f/1.8, the depth of field is so razor-thin that one eye might be in focus while the other is soft. Always focus on the nearest eye. For full-body portraits, step down to f/2.8 to f/5.6. This provides a more forgiving focus plane while still blurring the background effectively, keeping the entire body sharp. For group portraits, you need depth to keep everyone’s face sharp; use f/5.6 to f/8. This ensures all subjects are within the depth of field, even if they are in different rows.
To master this, practice on a stationary subject. Take a series of shots from the same position, starting at your lens’s widest aperture (e.g., f/1.8) and stopping down incrementally to f/8. Observe how the background transitions from a complete blur to increasingly detailed. Notice how, at wider apertures, the sharp focus on your subject’s eyes becomes critically important. This hands-on test is the fastest way to internalize the visual impact of each f-stop and learn to precisely control the story your background tells.
Shutter Speed Techniques for Sharp Portraits
While your aperture controls the artistic blur of the background, your shutter speed is the guardian of sharpness, freezing the moment with clarity. It dictates how long your camera’s sensor is exposed to light, and this duration is critical for countering two main enemies: camera shake and subject movement. A shutter speed that is too slow will introduce blur from either source, ruining the crisp detail you worked so hard to achieve with your lens focus.
The foundational rule for handheld shooting is the 1/focal length rule. Simply put, your shutter speed denominator should be at least the number of your lens’s focal length. For a 50mm lens, use 1/50s or faster; for a 200mm telephoto, use 1/200s minimum. This counters the magnified shake from longer lenses. Consider this your absolute baseline. For assured sharpness, especially with high-resolution sensors, many photographers double this rule (e.g., 1/100s for a 50mm).
Different portrait scenarios demand specific shutter speeds. For a static portrait of a cooperative adult, a speed of 1/125s is a reliable starting point, easily overcoming minor shakes. If your subject is fidgeting, laughing, or you’re photographing an engaged child, move to 1/250s to freeze that slight movement. For true action portraits—a dancer mid-leap, an athlete, or a running child—you need 1/500s or faster to completely stop motion.
Shutter speed is also a creative tool. While sharpness is often the goal, you can intentionally use slower speeds for artistic effect. Panning with a moving subject at 1/30s can create a dynamic, blurred background while keeping the subject relatively sharp. A very slow shutter, like 1/4s, can render flowing fabric or hair as a beautiful, ethereal blur, contrasting with a still face. Remember, these techniques often require a tripod to isolate subject movement from camera shake.
In practice, you must balance this setting with the aperture from our previous chapter and the ISO we will discuss next. In bright light, achieving 1/500s is simple. In lower light, to maintain a fast shutter, you will need to open your aperture wider or, as a trade-off, raise your ISO to keep the exposure balanced without sacrificing critical sharpness to motion blur.
ISO Settings for Clean Portrait Images
Having mastered shutter speed to freeze motion, we now turn to the third pillar of exposure: ISO. This setting controls your camera sensor’s sensitivity to light. In the digital age, think of it as the signal amplifier. A low ISO (like 100) means little amplification, resulting in a clean, noise-free signal. A high ISO (like 3200) applies heavy amplification to capture light in dark scenes, but also amplifies electronic noise, creating the grainy, speckled artifacts that degrade image quality.
Your camera has an ISO sweet spot where images are cleanest, typically between ISO 100 and 400. Consult your manual, but start at ISO 100 for maximum quality. Your goal is to keep ISO as low as possible while achieving a proper exposure with your chosen aperture and shutter speed. For instance, after setting a wide aperture (f/2.8) for background blur and a safe shutter speed (1/250s) from our previous chapter, if your image is still too dark, you must raise the ISO before compromising those creative settings.
Here are practical ISO starting points for common portrait lighting:
- Bright sunlight: ISO 100-200. Ample light lets you prioritize low noise.
- Overcast days: ISO 200-400. The soft light is ideal, but less intense, requiring a slight ISO bump.
- Indoor natural light: ISO 400-800. Window light is beautiful but often demands higher sensitivity.
- Low light situations: ISO 800-3200. For evening or dim interiors, raising ISO is essential to keep your shutter speed fast enough to avoid blur.
Modern cameras have remarkable high-ISO performance. Don’t fear ISO 1600 or 3200 if it means getting a sharp shot. A sharp, slightly noisy image is always preferable to a noise-free, blurry one. Use Auto-ISO with caution: set it with a maximum limit (e.g., ISO 3200) and a minimum shutter speed (like 1/125s) to maintain control. For full creative command, especially in stable light, manual ISO is best. Now, with exposure mastered, the final technical step is ensuring that sharpness lands precisely where it matters most: the eyes.
Focus Modes and Techniques for Sharp Eyes
With your ISO set for a clean image, the next critical step is ensuring that sharpness lands exactly where it matters most: the eyes. Mastering focus is non-negotiable for professional portraits. Your camera offers several autofocus (AF) modes. Single-shot AF (AF-S/One-Shot) is ideal for stationary subjects; you half-press the shutter to lock focus, which remains fixed until you take the shot. For moving subjects, like a walking model, Continuous AF (AF-C/AI Servo) continuously adjusts focus as long as the shutter is half-pressed, tracking movement. Automatic AF (AF-A/AI Focus) lets the camera decide between the two, but for consistent results, manual mode selection is better.
Equally important is choosing where the camera focuses within the frame. For precise portraits, avoid Auto-Area AF, which may focus on the nearest object like a nose. Instead, use a single AF point. Place this point directly over your subject’s eye, typically the one closest to the camera. This guarantees critical sharpness where the viewer’s attention goes. For a slightly moving subject, switch to a dynamic area AF mode, where you select the starting point, and the camera uses surrounding points to assist with tracking.
A transformative technique is back-button focusing, where you separate the focusing function from the shutter button. You assign AF activation to a button on the back of the camera (like AF-ON). This allows you to lock focus on the eye with your thumb and then recompose without the focus shifting, eliminating the limitations of the “focus and recompose” method. It also lets you seamlessly switch between stationary and moving subjects without changing modes.
For practice, set your lens to a wide aperture like f/1.8. With a person seated, use single-point AF and back-button focus to lock onto one eye. Take several shots, reviewing each at 100% magnification to check eyelash sharpness. For group portraits, stop down your aperture (e.g., f/5.6 or higher) and focus on the eyes of a person in the middle row to maximize depth of field across the group. Remember, perfect exposure means nothing if the focus is off.
White Balance and Color Settings for Natural Skin Tones
Now that you’ve mastered focus for razor-sharp eyes, the next critical step is rendering those eyes—and the skin around them—with natural, beautiful color. This is the domain of white balance, the setting that tells your camera what “white” looks like under your current light, thereby correcting color casts for accurate skin tones.
Every light source has a color temperature, measured in Kelvin (K). Lower values (like 3000K) are warm and orange (think tungsten bulbs), while higher values (like 7000K) are cool and blue (like deep shade). Our goal is to neutralize these casts so skin looks natural, not sickly green or unnaturally orange. Your camera offers presets that apply a standard correction: Daylight (~5200K) for midday sun, Shade or Cloudy (adding warmth to counter blue shadow light), Tungsten (cooling down indoor bulbs), Fluorescent (correcting greenish hues), and Flash (matched to your strobe’s temperature).
For precision, move beyond presets. Use a custom white balance by photographing a neutral gray or white target under your portrait light, then telling your camera to use that image as a reference. This is the most accurate method for mixed or tricky lighting. Alternatively, manually set the Kelvin value. Start with 5500K for flash or sun and adjust: lower the number to add blue (if skin is too yellow), raise it to add amber (if skin is too blue).
Practical exercise: Photograph a person under a household lamp. Shoot first on AWB, then the Tungsten preset, and finally with a custom white balance using a gray card. You’ll see the dramatic shift from orange to natural tones. Remember, the quality of your light source is inseparable from white balance; a golden-hour sun naturally warms skin, which you may choose to preserve slightly for mood.
Crucially, always shoot in RAW. While getting it right in-camera is ideal, a RAW file allows you to adjust the white balance perfectly in post-processing with zero quality loss, offering a complete safety net for color. This flexibility is non-negotiable for professional portrait work.
Putting It All Together Quick Settings Cheat Sheet
Now that you understand the theory, let’s translate it into practice. Here is your quick-reference cheat sheet for flawless portraits in any situation. Remember, these are starting points; adjust based on your specific light and creative goal.
Outdoor Portrait in Sunlight: Use open shade or position subject with sun behind them. Start with Aperture: f/2.8 (for shallow depth) or f/5.6 (more context). Shutter Speed: 1/250s or faster. ISO: 100. White Balance: Daylight or Shade if in shadow.
Indoor Natural Light: Position subject near a window. Use a wide aperture like f/1.8 – f/2.8 to maximize light. Keep Shutter Speed at 1/125s minimum to avoid camera shake. Raise ISO to 400-800 as needed. Set White Balance to Cloudy or Shade to warm up the cool window light.
Studio Portrait with Flash: Set camera to manual mode. Aperture: f/8 (controls flash exposure). Shutter Speed: 1/160s (your flash sync speed). ISO: 100. White Balance: Flash or 5500K.
Low-Light Environmental: Prioritize capturing the mood. Use a wide aperture (f/2.8). Use a slower shutter speed (1/60s) but use a tripod. Increase ISO to 1600-3200 acceptably. Set a custom white balance for accuracy.
Action Portrait (e.g., dancer): Freeze motion with a fast shutter speed: 1/500s or faster. Use a moderate aperture like f/4. Increase ISO to maintain exposure. Use continuous AF/AI Servo mode.
Group Portrait: Ensure everyone is in focus. Use a narrower aperture like f/5.6 – f/8. Use a safe shutter speed of 1/200s. Keep ISO low (100-200) if possible. Position subjects on the same focal plane.
Quick Workflow: 1. Set shooting mode to Aperture Priority or Manual. 2. Choose your aperture for desired depth of field. 3. Set ISO as low as possible. 4. Adjust shutter speed for proper exposure (or let camera in Aperture Priority). 5. Set white balance preset based on light source. 6. Focus on the subject’s nearest eye.
Troubleshooting: Blurry images? Check shutter speed is fast enough (1/focal length minimum) and focus point is on the eye. Poor skin tones? Your white balance is off; shoot RAW and correct in post, or set a custom WB. Incorrect exposure? Use exposure compensation in Aperture Priority, or adjust shutter speed/ISO in Manual.
Memorize this trio: Aperture controls depth of field and is your primary creative tool. Shutter speed freezes motion or shows blur. ISO balances the exposure but adds noise. Practice adjusting these three in tandem until it becomes second nature.