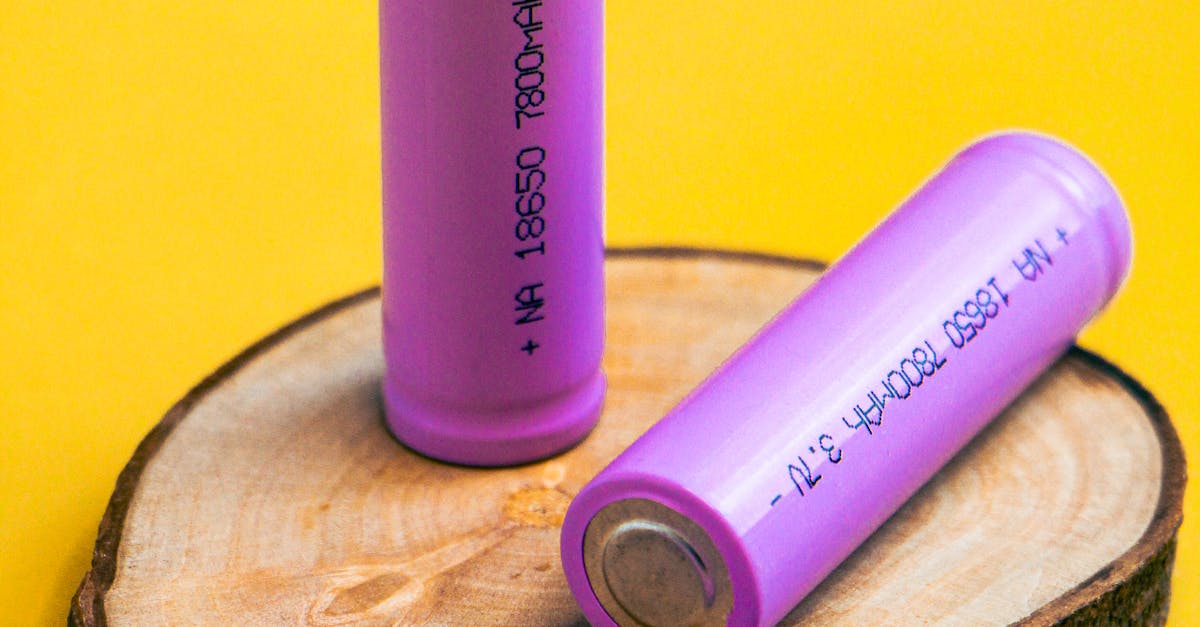

Professional camera repair technicians reveal that most battery failures are preventable with proper care. Modern lithium-ion batteries powering today’s digital cameras require specific maintenance to maximize their lifespan and performance. This comprehensive 5-step plan will help photographers avoid common battery issues and ensure their equipment remains reliable during critical shooting sessions.
Understanding Modern Camera Battery Technology
To truly master battery care, we must first understand the remarkable engineering inside that plastic shell. The journey from bulky power packs to today’s sleek lithium-ion cells is a story of chemical innovation directly enabling the digital photography revolution. Early digital cameras often relied on nickel-cadmium (Ni-Cd) or nickel-metal hydride (Ni-MH) batteries. These were robust but suffered from low energy density, meaning they were physically large for the power they held. More critically, they were plagued by the memory effect, a phenomenon where repeated partial discharging would cause the battery to “forget” its full capacity, permanently reducing runtime. Chemically, they operated at a nominal 1.2 volts, requiring multiple cells to reach useful voltages for camera electronics.
The shift to lithium-ion (Li-ion) technology was transformative. At its heart is a chemistry of lithium cobalt oxide (or similar variants) for the positive electrode and graphite for the negative, with a lithium-salt electrolyte. This combination yields a nominal 3.7 volts per cell—over three times that of a Ni-Cd cell. This higher voltage is more efficient for the demanding digital circuitry, sensors, and LCD screens in modern cameras, often requiring fewer cells in a battery pack. The most celebrated advantage is its staggering energy density; Li-ion packs significantly more power into a smaller, lighter package, allowing for smaller camera bodies and longer shoots. Furthermore, Li-ion chemistry is virtually free of the memory effect, liberating photographers from the old ritual of fully draining batteries before recharge.
The physical architecture is as clever as the chemistry. Most modern camera batteries use a jelly-roll configuration. Imagine the positive electrode, separator, and negative electrode—each a thin, foil-like sheet—stacked and then rolled tightly into a cylinder or prismatic (flat) cell. This design maximizes the surface area where the chemical reaction occurs within a minimal volume, directly contributing to that high energy density. For you, the photographer, this technical evolution means a battery that is lighter, lasts longer per charge, and offers far greater flexibility in use. However, this advanced chemistry comes with its own strict requirements for voltage and temperature management, which is why the care protocols for these modern power cells are specific and crucial, setting the stage for the optimized charging strategies we will discuss next.
The Charging Cycle Optimization Strategy
Now that you understand the lithium-ion chemistry powering your camera, let’s discuss how to charge it correctly. This is where the most damaging myths persist, often carried over from the nickel-cadmium era. The golden rule for modern Li-ion is this: partial charging is beneficial, and full discharges are stressful. Unlike old Ni-Cd batteries that suffered from a “memory effect,” lithium-ion cells thrive on topping up. Each time you deeply drain the battery to 0%, you strain its internal chemistry, accelerating capacity loss. Think of it like a rubber band; constantly stretching it to its limit weakens it faster than moderate, regular use.
Your charging strategy should focus on two key states: daily use and storage. For daily photography, keep your battery between 20% and 80% charge. There’s no need to “train” it by fully cycling it. Simply plug it in when convenient. For storage, whether for a week or a season, the ideal state of charge is between 40% and 60%. Storing a battery fully charged at 100% for extended periods creates high internal pressure, while storing it completely depleted can push the voltage too low, permanently damaging the cell’s ability to hold a charge. This 40-60% “sweet spot” minimizes chemical stress during inactivity.
Modern smart chargers are your allies. They are not simple power supplies; they have microchips that manage a precise charging curve. They apply constant current to quickly bring the battery to about 80%, then switch to a slower, trickle-like constant voltage phase to top it off safely, stopping at 100%. This prevents overcharging. However, leaving a fully charged battery in the charger for days on end, especially in a warm environment, is still detrimental. Once the indicator shows a full charge, disconnect it.
Interpreting your charger’s LED indicators correctly is crucial. A solid green or blue light typically means charging is complete and the maintenance mode is active. A blinking light usually indicates active charging. Consult your manual, as a solid red might mean charging, while a blinking red could signal an error or an incompatible battery. Regarding charge cycles, understand that one cycle is defined as using 100% of the battery’s capacity, which can be accumulated over multiple partial discharges. For example, draining from 100% to 60% twice uses 80% of one cycle. Capacity degradation is inevitable; all Li-ion batteries lose peak capacity over time and with cycle count. By avoiding extremes—both in charge level and temperature—you significantly slow this natural decline, ensuring your battery delivers reliable power for years, not just months.
Temperature Management and Environmental Protection
Now that you’ve mastered the charging rhythm for your battery, it’s time to consider the environment it lives in. Just as a steady, moderate charge preserves its internal chemistry, temperature is the other critical factor dictating its health and performance. Think of your lithium-ion battery as a living entity with a very specific comfort zone; stray outside it, and you’ll witness immediate performance drops and long-term damage.
The ideal operating range for most camera batteries is between 0°C and 40°C (32°F to 104°F). Within this band, the chemical reactions that store and release energy happen efficiently. Step into the cold, and those reactions slow down dramatically. This isn’t a loss of capacity, but a temporary reduction in the battery’s ability to deliver current. You’ll see your charge indicator plummet, and your camera may shut off unexpectedly. The good news is this effect is largely reversible once the battery warms up. Conversely, extreme heat is a silent killer. Temperatures above 40°C accelerate the parasitic chemical reactions inside the cell, permanently degrading the electrolyte and electrodes. This leads to an irreversible loss of maximum capacity, making the careful charging habits from the previous chapter all for naught.
For photographers, this means adapting your battery care to the shoot. In cold weather, keep spare batteries inside your coat, close to your body warmth, until needed. Use a camera insulation wrap if shooting static scenes for long periods. Never attempt to charge a battery that is below freezing. In hot climates, never leave your camera or batteries in a sealed car or in direct sunlight. The greenhouse effect can turn a car interior into an oven well beyond the safe threshold. Always allow batteries to acclimatize to room temperature before charging. Humidity is a secondary but potent threat. Moisture can corrode the metal battery contacts, leading to poor electrical connection and erratic camera behavior. A periodic, gentle wipe of the contacts with a dry, soft cloth is a simple but vital habit.
Ultimately, protecting your battery from environmental extremes is about respecting its chemistry. By managing temperature, you ensure the capacity you’ve preserved through smart charging is actually available when you press the shutter. This proactive protection seamlessly leads to the next consideration: how to safely store and transport these power cells when they’re not actively in use.
Proper Storage and Transportation Protocols
Having mastered temperature management, the next critical discipline is proper storage and transportation. How you store your batteries when they’re not in your camera is just as important as how you use them. For short-term storage—anything from overnight to a few weeks—the goal is to maintain a ready state. Store batteries at a partial charge, ideally between 40% and 60%, in a cool, dry place away from direct sunlight. This charge level minimizes stress on the battery chemistry while ensuring it’s not fully depleted, which can be harmful.
For long-term storage, such as seasonal equipment hibernation or keeping spare batteries, the protocol intensifies. Always remove batteries from the camera body and any chargers. A tiny trickle discharge within the camera’s circuitry can, over months, lead to a deep discharge that permanently damages the battery. Prepare them for storage by charging or discharging to that optimal 40-60% range. Then, place each battery individually in a non-conductive protective case. These inexpensive cases are essential; they prevent the terminals from contacting metal objects like keys or other batteries, which can cause dangerous short circuits, fires, or physical damage to the contacts.
Transportation demands its own vigilance. When traveling, always carry batteries in your carry-on luggage. Airline regulations strictly prohibit loose lithium-ion batteries in checked baggage due to fire risk in inaccessible cargo holds. Keep batteries in their protective cases, and for added safety, place tape over the terminals or ensure each is in its own plastic bag. This prevents any accidental contact. Check airline-specific rules on watt-hour (Wh) ratings, but most standard camera batteries fall well under common limits.
Finally, implement a dating system. The moment you acquire a new battery, label it with the purchase date using a permanent marker or a small sticker. Lithium-ion batteries age from the date of manufacture, not first use, degrading even on the shelf. Track this age alongside a simple performance log—note if a battery seems to drain faster in a specific camera or under certain conditions. This history, combined with the monitoring routines we’ll discuss next, allows you to predict failures before they happen in the field. A dated, well-stored battery is a predictable battery, and predictability is the hallmark of a professional workflow.
Performance Monitoring and Maintenance Schedule
Proper storage sets the stage, but consistent monitoring and maintenance are what truly keep your camera battery performing at its peak. Think of this as the regular health check-up for your power source. Modern cameras provide several key indicators, but understanding what they really mean is crucial. The remaining charge percentage is a useful snapshot, but the estimated shots remaining figure is a dynamic calculation based on your current settings—like using live view, image stabilization, or cold weather—and is therefore a more actionable gauge of immediate performance. A significant drop in this estimate under your typical shooting conditions can be the first sign of declining battery health.
To ensure these readings are accurate, battery calibration is essential. Every two to three months, you should perform a controlled full discharge followed by a full, uninterrupted recharge. Use the camera normally until it powers off completely, then recharge it in one session. This process recalibrates the camera’s internal circuitry, giving you a true reading of the battery’s capacity and preventing the camera from shutting down prematurely while the battery meter still shows charge.
Establishing a simple quarterly maintenance routine will catch issues before they ruin a shoot. Here is a practical checklist:
- Contact Cleaning: Using a cotton swab slightly dampened with isopropyl alcohol, gently clean the metal contacts on both the battery and in the camera’s compartment. This prevents power flow resistance caused by oxidation or dirt.
- Physical Inspection: Look for any signs of swelling, cracks, or leakage. A battery that no longer sits flush in its compartment is a serious red flag.
- Capacity Testing: If you have access to a dedicated battery charger with a capacity display or a battery analyzer, note the actual milliamp-hour (mAh) reading against the battery’s rated capacity. A consistent reading below 70-80% of its original rating indicates it’s nearing retirement.
- Usage Logging: Keep a simple log—a note on your phone or in a notebook—tracking purchase date, cycles, and performance notes. This history, combined with the dating system mentioned earlier, is invaluable for predicting a battery’s end-of-life.
This proactive schedule transforms you from a passive user to an informed manager of your gear. By interpreting the camera’s signals correctly and performing these simple maintenance steps, you move beyond hoping the battery will work to knowing its exact condition. This knowledge not only extends the useful life of each battery but also provides the critical data needed to decide when to replace it, ensuring you’re never caught powerless. When performance does begin to wane despite proper care, you’ll be prepared to diagnose the specific issue, which leads us directly into troubleshooting the common problems that even well-maintained batteries eventually face.
Troubleshooting Common Battery Issues
Even with a meticulous maintenance routine, batteries will eventually show their age. Recognizing the symptoms of a failing battery and knowing how to troubleshoot them can save you from missing a critical shot and prevent potential damage to your camera. The most common complaints we see in the shop are rapid, unexpected discharge, an inability to hold a charge for more than a few hours, and inconsistent performance where the camera might shut off abruptly despite showing remaining power.
The first critical step is to determine whether the issue lies with the battery or the camera itself. A simple but effective diagnostic is to test the suspect battery in a second, known-good camera body of the same model, if available. Conversely, test a known-good battery in the camera exhibiting problems. If the issue follows the battery, you have your culprit. If the problem persists with multiple healthy batteries, the camera’s power circuitry, charging port, or internal connections may be at fault. Symptoms like the camera not powering on at all, or erratic behavior even with a fresh battery, often point to the camera.
For a battery that won’t charge, start with the basics: ensure you’re using the correct, undamaged charger and cable. Gently clean the battery’s metal contacts and the camera’s contacts with a dry, soft cloth to remove oxidation or debris. Try a different power outlet. If the battery remains completely unresponsive, it has likely reached the end of its usable life. For inconsistent performance or sudden power loss, perform a controlled capacity test. Fully charge the battery, then use the camera normally but monitor it closely. Note how many shots you get versus the camera’s estimate. If it powers down while still indicating 20% or more charge, the battery can no longer reliably report its state, a common failure mode.
This is where safety becomes paramount. If you notice any swelling, a distorted shape, a cracked casing, or if the battery becomes unusually hot to the touch during use or charging, stop using it immediately. A swollen battery is a significant fire and chemical hazard. Do not puncture it, attempt to charge it, or place it in your camera. Store it in a non-flammable container away from heat and flammable materials.
Proper disposal is an act of environmental responsibility. Never throw lithium-ion batteries in household trash. They contain toxic materials and pose a fire risk in landfills. Most electronics retailers, camera stores, and municipal waste facilities have dedicated battery recycling drop-offs. Many camera manufacturers also offer take-back or recycling programs. Utilizing these ensures hazardous components are handled correctly and valuable materials are recovered. By troubleshooting wisely and disposing of responsibly, you protect both your gear and the environment.